
ADOPT-A-DUMPSTER™ · WET TRASH 101 · FIELD GUIDE
How to Photograph a Dumpster Area
A useful field photo answers a question. A pile of random close-ups usually does not.
The seven-photo sequence
- Context: one wide photo showing the whole enclosure and surrounding pavement.
- Front: gates, access and container position.
- Left side: container condition and enclosure wall.
- Right side: container condition and enclosure wall.
- Inside: only when safe and appropriate, to document overflow, standing liquid or residue.
- Drainage: nearest storm drain, trench drain or visible flow path.
- Damage: close-up of a leak, rust-through hole, failed seam, lid damage or staining.
Tell the pathway, not just the problem
If there is a wet trail, photograph the source and then step back far enough to show where the trail goes. If there is a drain, photograph enough surrounding pavement that another person can understand the connection.
Privacy and tone
Do not publish addresses, license plates, people or identifiable business details without permission. Field photography should educate and document. It should not be used to publicly shame a property.
Before and after
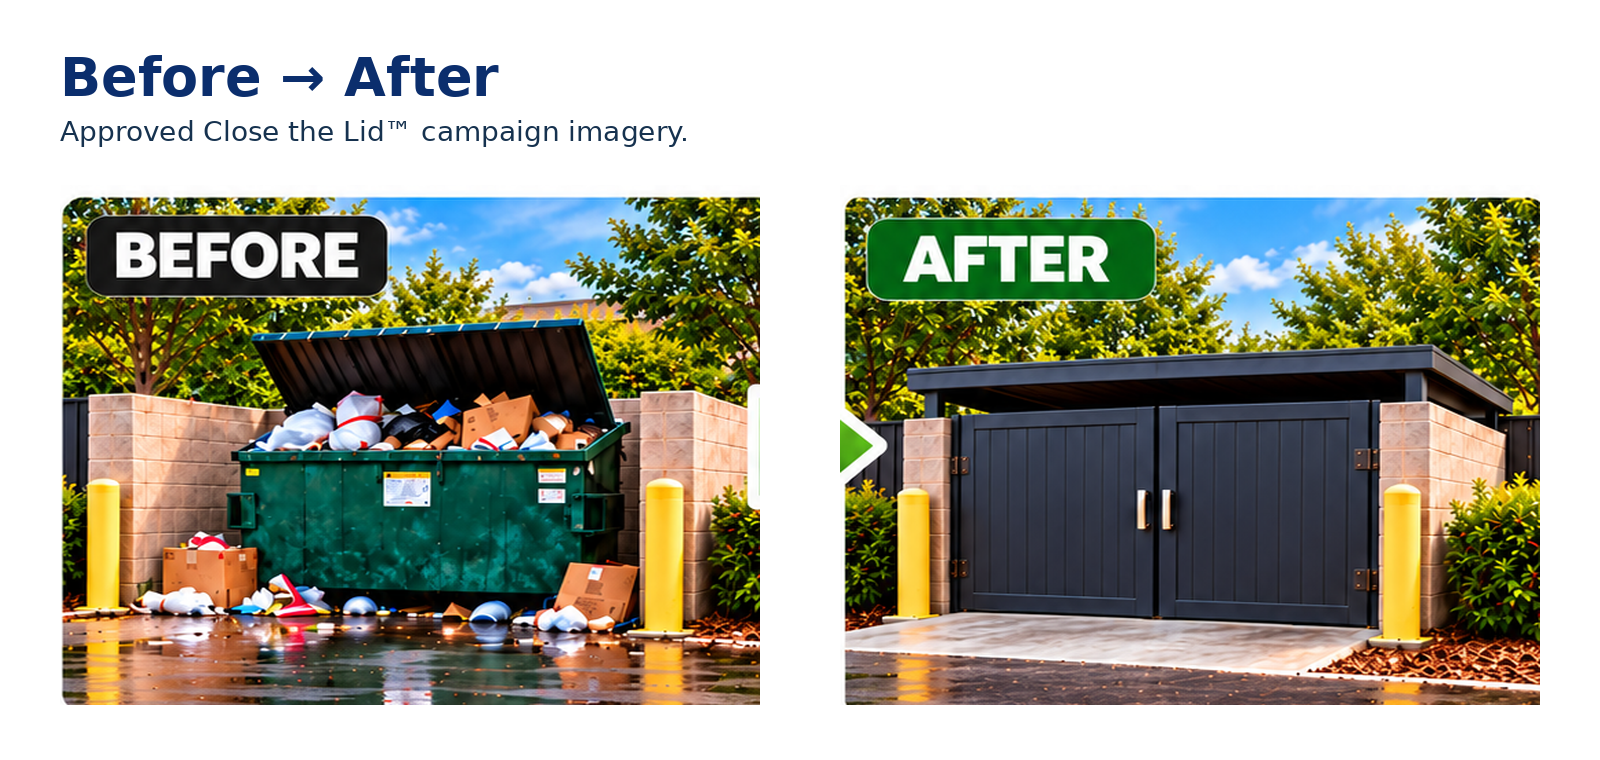
Use the same approximate camera position after maintenance or improvement. Comparable before/after photos are more credible than dramatic angles that cannot be compared.
Sources & further reading
These sources support the general education on this page. Site-specific legal requirements still depend on the applicable permit, ordinance and local system.